RGB looks best when everything is synchronized, and a clean Aura Sync install is the fastest way to get your motherboard, RAM, and compatible peripherals speaking the same lighting language.
Before You Start
- Confirm your PC runs a supported Windows version and has administrator access.
- Update chipset and GPU drivers to avoid lighting service conflicts.
- Close other RGB tools (or disable their auto-start) so they don’t fight for device control.
To avoid missing dependencies, do a quick reboot before you install Aura Sync and keep only essential USB devices connected.
Where to Get the Installer Safely
Use official ASUS sources whenever possible, because a mismatched Aura Sync installer can lead to missing modules or devices that never appear in the dashboard.
Tip: If you’re switching from older ASUS lighting utilities, uninstall them first and restart, then proceed with the new setup so services don’t overlap.
Step-by-Step Installation
- Download the latest package from ASUS support for your motherboard model.
- Right-click the setup file and choose “Run as administrator.”
- Accept the prompts, then restart when the installer asks.
- Open the app once after reboot and give it a minute to detect devices.
During the wizard, you can choose optional components, and it’s usually best to install Aura Sync app with only the modules you truly need.
Can You Install Aura Sync for Free?
In most regions the official download does not cost anything, so you can typically complete an Aura Sync for free install directly from ASUS without third-party downloaders.
First Launch Checklist
- Open the app and let device detection finish (don’t click around too quickly).
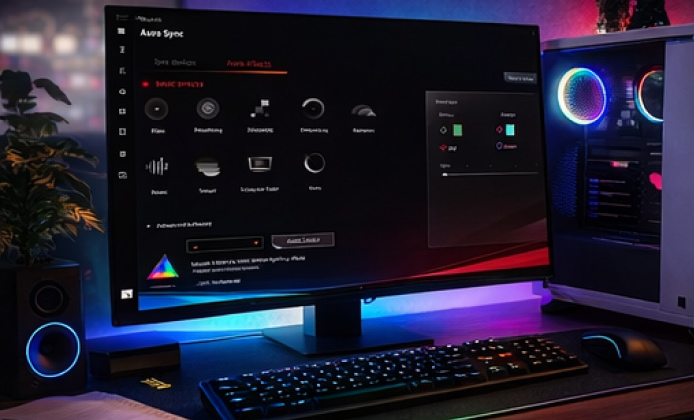
- Set one simple effect first (Static or Breathing) to confirm communication.
- Then create profiles for “Work,” “Gaming,” or “Night” so you can swap instantly.
If detection feels slow, repeat the Aura Sync app download and install flow after disabling startup apps that manage USB, overlays, or other RGB suites.
Common Problems and Quick Fixes
| Issue | Likely Cause | Fix |
|---|---|---|
| Devices not showing up | Conflicting RGB software or outdated drivers | Close other RGB apps, update chipset drivers, restart, then rescan devices |
| Lighting freezes after sleep | USB power-saving settings | Disable USB selective suspend, then reboot |
| App won’t launch | Corrupted service or missing component | Repair install, reinstall as admin, and ensure Windows is fully updated |
| RAM sync is inconsistent | Firmware or module compatibility | Update BIOS, confirm RAM support list, and reapply the profile |
FAQ
- Do I need Armoury Crate? Not always, some systems manage lighting through Armoury Crate, while others can use standalone Aura components; the best approach depends on your motherboard generation and peripheral lineup.
- What if I want to reinstall from scratch? Remove ASUS lighting utilities, reboot, clear leftover services if needed, then try to install Aura Sync for free again from the official ASUS page and restart once more after setup completes.
Best Practices for Stable RGB
- Keep one primary RGB ecosystem active and disable the rest.
- Update BIOS and chipset drivers before troubleshooting the lighting software.
- Create simple profiles first, then move to advanced effects and per-zone customization.
Once everything is detected, save a baseline “all-off” profile and a “default glow” profile so you can recover quickly if settings ever reset.
 Aura Sync Install Guide: First Launch and Fixes That Actually Work
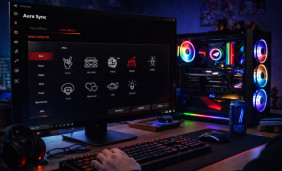 Aura Sync App: Keep Your RGB Devices Consistent and Controlled
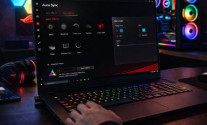
 Aura Sync on Laptop: Harmonize RGB Without Conflicts
 How to Get Aura Sync for Free the Right Way: Light Up Your Setup
 What Is Aura Sync and How to Use?
 Best Apps Similar to Aura Sync